What's the lead-time for partition delivery?
Enter your zip code and find out!
Privacy and safety are top concerns for business owners who need to select and install new bathroom partitions. Proper partition installation is vital to keeping customers safe and maximizing your investment. When you purchase new bathroom stalls from One Point Partitions, you’ll receive clear step-by-step installation instructions and tutorial videos to make the process as simple as possible. All of our products are designed for easy installation so you can upgrade your restroom with confidence.
In this chapter, we’ll cover installation tips and answer a few common questions. If you have any concerns along the way, reach out to us. We’ll be happy to provide guidance and support as you install your new partitions.
To install a toilet partition, you’ll need the required parts such as the panels, door, pilasters and hardware. You’ll also need the necessary tools and an extra pair of hands. By following the instructions in a step-by-step manner, you shouldn’t need to hire a professional, and you can have your bathroom looking great quickly and easily. Here’s a general overview of how it works:
The first step to installing a toilet partition is to begin with the correct design. At One Point Partitions, we strive to make this step as easy as possible for you. You can use our online design tool to create your layout or contact our team for assistance. We’ll consider the exact dimensions of your restroom to find the perfect fit and prevent installation hassle.
Next, you’ll need to remove the old partitions and make any necessary repairs or modifications to your walls and floors. Your new layout will require brand-new mounting holes.
After you remove the old partitions, it’s time to take measurements. You must write down accurate measurements to ensure everything lines up exactly as it should. Double-check your numbers to confirm accuracy before you start drilling.

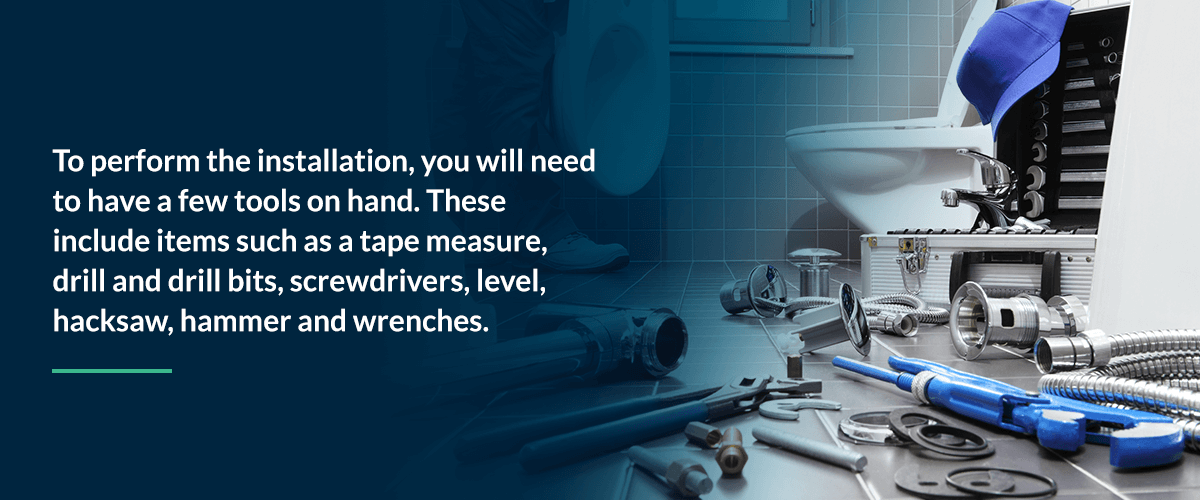
Your partitions come in three main parts, which are the panels, doors and pilasters. They also come with the required hardware such as brackets, anchors and screws. To perform the installation, you will need to have a few tools on hand. These include items such as a tape measure, drill and drill bits, screwdrivers, level, hacksaw, hammer and wrenches.
Once you have all your tools and installation buddy by your side, it’s time to get to work. First, mark all the anchor points in the floor and walls, and then begin to pre-drill holes. You’ll want to drill each hole to the minimum depth, and then clean out the debris. If you’re preparing ceiling anchors, be sure to drill into the structural beam. After you’ve cleaned the holes, fix the anchors in place.
Your next step is to install wall brackets and floor mounting hardware. These components will secure the panels to the walls and mount the pilasters to the floor.
You won’t fasten the panels to the brackets just yet. Instead, you’ll place them on supports in line with the wall brackets, 12 inches above the floor. Afterward, you’ll attach the pilaster-to-panel brackets on the pilasters and then mount the pilasters onto the floor anchors. If everything’s lined up correctly, you’ll connect the panels to the corresponding wall brackets and secure them to the pilasters. Use your level to make sure everything’s square, plumb and true throughout each step.
Install the door hardware on each pilaster before putting each stall door in place. After you’ve installed the doors, you’ll add the accessories such as the handles, locks and coat hangers.
The final step of the process involves installing the shoes and support brackets. The shoes fit at the bottom of the pilasters and hide the floor mounting hardware. The support brackets help maintain structural rigidity, particularly for larger panels. Your installation guide will provide exact instructions for installing the shoes and support brackets, depending on your partition type.
To measure for a new partition, the easiest thing to do is measure the old partitions and layout. Take these steps:
If you feel stuck, feel free to use our online design tool as a guide to help you get started.

At One Point Partitions, our team members are waiting to advise you and help you through the installation process. In the meantime, you can prepare for a successful installment by keeping the following tips in mind:
Typically, you can expect to pay anywhere from $150 to $250 per stall to have a professional do the installation work. However, if you have general carpentry skills and someone willing to assist you, you should be able to install partitions yourself without running into trouble.
A lot of customers wonder why bathroom doors have gaps around the edges and underneath. There are many reasons public bathroom stall doors do not extend to the floor, such as:
If you need guidance choosing a secure, quality partition that fits your budget and durability needs, that’s what we’re here for at One Point Partitions.